
Is your kitchen covered in grease, no matter how many times you clean it? Do you often notice crumbs in the corners, stains on the stovetop, and unwanted smells from the fridge? The kitchen is one of the most difficult places to keep clean because it gets dirty very quickly. Oil splatters, food spills, and clutter pile up before you even realize it.
The kitchen is the heart of your home. That is why a clean kitchen gives the feel of a clean house. Regularly wiping the stove and kitchen slabs makes things look good on the surface. But deep cleaning helps to get rid of bacteria, grime, and bad smells. You must be thinking, but deep cleaning a kitchen sounds like a hectic task. But don't worry. With the right steps and proper kitchen cleaning tools, you can make your kitchen shine like new.
This detailed guide will provide a step-by-step process to deep clean your kitchen without feeling overwhelmed. Let's get started.
Pre-Cleaning Prep
Before starting deep cleaning, it is important to set yourself up, as it can make the cleaning process faster and more efficient.
Step 1: Gather Cleaning Supplies
Having all your cleaning supplies ready before you start will save time and keep you from running back and forth looking for things. Gather essentials like:
- All-purpose cleaner
- Degreaser
- Baking soda and vinegar
- Microfiber cloths
- Sponge
- Soft Bristle brushes
- Microfiber mop
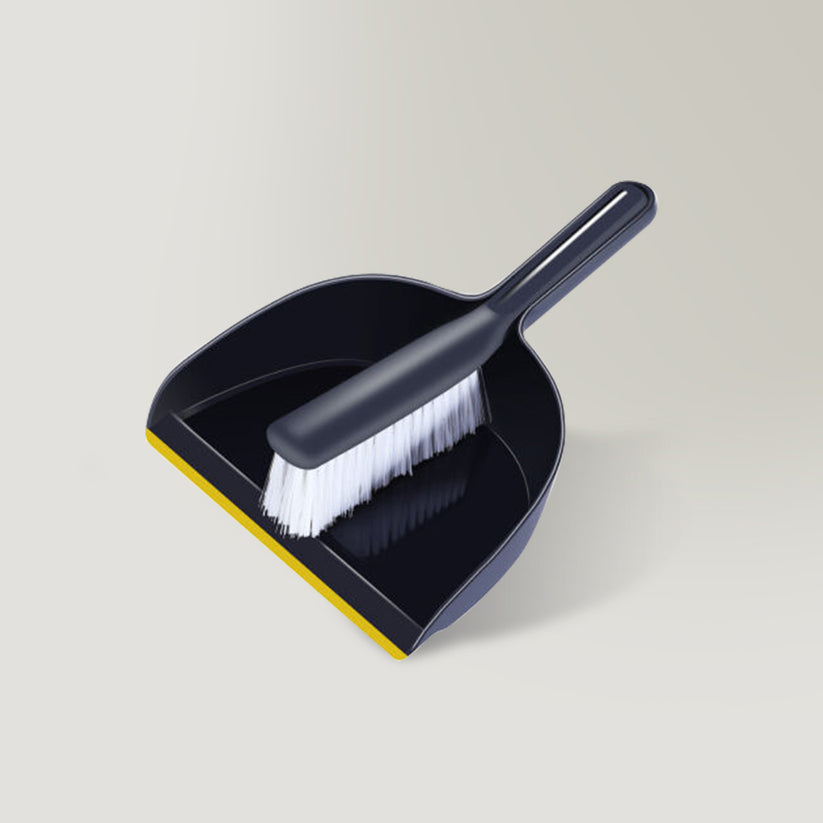
- Brush with a dustpan
- Vacuum cleaner
Step 2: Wash the Dishes
A sink full of dishes can get in the way of cleaning, making the process a hassle. Start by cleaning the dishes and put away all the plates, pots and pans in a cabinet that is fairly clean. If you have a dishwasher, you can load it up and start the cleaning process. This will make room in the sink and the kitchen counter, thus making it possible to clean it well.
Step 3: Clear Clutter From the Countertops
The kitchen counters become a dumping ground for random items from the house, like mail, keys, small appliances, snack wrappers, etc. Spend a couple of minutes to take anything out that does not belong in the kitchen.
It is also a great time to declutter. Put things where they belong and throw away the unwanted ones. For small appliances that are not frequently used, store them in a kitchen cabinet assigned especially to appliances. Once the countertops are uncluttered, it is easier to wipe them down and instantly transform the kitchen into looking tidy.
Step-By-Step Guide on Deep Cleaning Your Kitchen
Deep cleaning your kitchen is not only about keeping the space clean, it is about the hygiene and health of your family. Therefore, follow these steps to reach every nook and corner and clean them efficiently.

Step 1: Dust From Top to Bottom
Over time, dust accumulates on kitchen surfaces, particularly in hard-to-reach spots like cabinet tops and light fixtures. While dusting the kitchen, the right way to do so is to start from top to bottom.
Because dust from a high surface floats down and lands on everything that is below, so in this way you can clean the fallen dust later.
- Take a microfiber duster or a damp cloth.
- Wipe the light fixtures, the top of the cabinets, and the top of the fridge.
- Once the upper areas are clean, move to the middle. Dust the windows, sill, shelves top, etc.
- Once the upper area is clean, wipe the countertops, appliances, etc.
- In the end, mop the floor to remove the fallen dust. You can use a broom with a dustpan to collect the debris easily.
Step 2: Clean the Cabinets and Pantry
Cabinets and drawers are among the most important areas that must be deeply cleaned in your kitchen. Follow the following steps:
Scrub the Exterior
Grease stains often cover the kitchen cabinets, especially when cooking. Fingerprints and oil splatters are also common on the exterior of cabinets and drawers.
- Take a microfiber cloth.
- Mix warm water and vinegar to wipe the grease. You can also use a degreaser.
- Food wooden cabinets, avoid excessive water. Using a sponge is a better option for wood or plastic cabinets. A sponge can remove heavy grease stains without damaging the cabinet surface.
- Wipe the handles and knobs with a cleaning solution to remove the germs.

Clean the Interior
Food crumbs and dust are easily collected inside the cabinets and drawers.
- Start by taking everything out of your cabinets and drawers.
- Once empty, use a vacuum cleaner or a dry cloth to remove any loose dust and crumbs.
- Take an all-purpose kitchen cleaner to wipe down the shelves and drawers with the help of a microfiber cloth. You can also use a mixture of water and dish soap.
- For stubborn stains, you can make a paste of baking soda and water. Apply to the stain and gently rub with a sponge. Then wipe with a clean cloth.
- Now, put everything back. Use this opportunity to check for expired food, broken items, or things you no longer use. Throw everything that is unnecessary to free up space.
Step 3: Clean the Stovetop
Cleaning a stovetop is no one's favorite task, but it is often the most gruesome area to clean. The hotplate naturally is the main area for cooking where food burns, oil splatters, and spills to add to the mess. Stains and spills that are not cleaned immediately need scrubbing to be removed completely. A thorough cleaning is required to make the stove stain and germ-free.
- If you have a gas stove, remove its parts, like the burner caps, grates, and knobs. For an electric stove, lift or remove the coils if possible. Soak these parts in soapy water for 10 to 15 minutes. It is always recommended to soak items that require scrubbing as this will loosen the grease and grime, making the chore a million times easier.
- Before using any cleaner, gather and collect all debris, dirt, and food shreds with a piece of paper towel or towel.
- Now spread the cleaning solution on the stove. For everyday stains, mix dish soap with warm water and wipe the surface with a sponge or microfiber cloth. For stubborn stains, kitchen degreasing spray is a perfect solution as it decomposes oil stains effectively.
- Use a soft-bristle brush or a scraper (specifically designed for stovetops) to remove stubborn stains gently. As stove tops are mostly made of glass or ceramic, so avoid using stiff bristles as they can scratch the top surface.
- Now take out the burner grates, caps, and knobs from the soapy water and scrub them. Let them dry and put them back on the stove.
- Once the stovetop is clean, wipe it down with a damp cloth to remove any leftover cleaner.
Step 4: Clean the Microwave and Oven
The oven and microwave get dirty fast with food splatters, grease, and bad smells. Deep cleaning the oven will make it look fresh and work better.
- Start by taking out the turntable plate and grills. Wash them with a sponge just like you wash a dish.
- Steam cleaning is used for the inside of the microwave. Take 1 cup of water and add a few tablespoons of vinegar. On the microwave for 3-5 minutes till the insides fill with steam. This will loosen the dirt.
- Now wipe with a damp cloth. The stains will come off quickly.
- If there is still some smell, place a small bowl of baking soda inside and leave it overnight. It will absorb the remaining smell.
Step 5: Deep Cleaning the Refrigerator
A refrigerator is typically one of the most used appliances in the kitchen, and it can easily become dirty with spills, expired food, and dust.
Clean behind and under the refrigerator.
Over time, dust and dirt build-up behind and under the fridge, making it work harder and reducing efficiency. To clean this area:
- For safety, disconnect the refrigerator from the power source.
- Gently pull it out to access the area behind the refrigerator.
- Dust off the coils using a vacuum cleaner or long-handle duster. Dusty coils cause the fridge to work overtime, therefore making the fridge consume more energy.
- Get rid of any crumbs, debris, and dust by sweeping or vacuuming the floor. You can also collect the food bits with a brush and a dustpan.
- Then, wipe the surface to clean any remaining stains.
- Reposition the refrigerator, plug it in, and turn it on.
Clean the inside (and outside) of your refrigerator.
- Remove all food items. Check expiration dates and throw out anything spoiled.
- Take out all removable parts and wash them with warm, soapy water. Let them dry completely before putting them back.
- To clean the interior walls, shelves, and door compartments, grab a damp cloth, some mild dish soap, or a combination of water and vinegar.
- After the cleaning is complete, place all the parts back. Ensure that everything is dry before putting food back in.
Clean the Outside of Your Refrigerator
The outside of your fridge can get dirty with fingerprints, dust, and spills.
- You can easily wipe away dust from the doors and handles with dish soap. Don't forget to dampen the cloth first!
- If the fridge is made from stainless steel, immerse a soft cloth in water and vinegar, or use a special stainless steel cleaner to clean the smudges.
- Remember to clean the rubber seals around the fridge's door. Grime will build up here and reduce the effectiveness of the fridge seal.
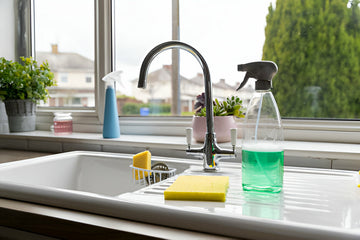
Step 6: Sink and Faucet Cleaning
Your kitchen sink and faucet are hotspots of germs. But cleaning them is easier than it sounds.
- Rinse the sink and faucet.
- Add a little dish soap and use a sponge or a soft brush to scrub. For tough stains, make a paste of baking soda and water and let it sit for a few minutes before scrubbing.
- If you have a stainless steel sink, always scrub in the direction of the grain to avoid scratches.
- To clean the sink drain, pour half a cup of baking soda into the drain, followed by one cup of vinegar. Let it bubble and break down grease and food buildup.
- After 10–15 minutes, flush with hot water.
- If there are hard stains on the faucet, soak a cloth in vinegar, wrap it around the faucet, and let it sit for 10 minutes before scrubbing.
- Wipe it down with a clean cloth to leave your sink fresh and germ-free.
Step 7: Wipe the Counters
Once your dishes are all washed, you have dusted and cleaned the interiors and exteriors of the cabinets and drawers, it's time to give a final wipe to the counters.
- Take a microfiber cleaning cloth.
- You can use a foaming cleaner that will loosen the stains and oil residue with its bubbles.
- Use a soft bristle brush that can reach grooves and crevices of the countertop. It will effectively clean the surface without scratching.
- In the end, wipe the countertops with a clean cloth.
Step 8: Mop the Floor
After all the cleaning, your floor will be filled with dust, dirt, and food crumbs. So the last cleaning step is to clean the floor.
- To dry clean the floor, use a broom or vacuum cleaner to get into corners and under appliances.
- Give the floor a good mopping with a microfiber mop with the appropriate cleaner for your floor type. Use the appropriate cleaning solution according to the type of flooring. Otherwise, the floor will feel sticky after mopping.
- Let the floor air dry.
Step 9: Take Out Garbage
In the end, empty your garbage can and take out the trash. Spray a disinfectant to give a good odor.
Now, the deep cleaning of your kitchen is complete.
Tips for Maintaining a Clean Kitchen
Keeping your kitchen clean daily can save you time and effort in the long run. Here are some easy habits to maintain a spotless kitchen:
Clean as You Cook
Wash dishes while cooking to avoid pile up. This simple habit prevents dishes from piling up and makes post-meal cleanup much easier.
Wipe Down Surfaces Daily
Wipe spills and oil stains immediately from the countertops and stove. This prevents buildup and makes deep cleaning less frequent and easier.
Sweep or Vacuum the Floor Daily
Quickly sweep or vacuum the kitchen floor at the end of the day to remove crumbs and dust. This prevents dirt from being ground into the floor.
Keep the Sink and Drain Fresh
Once a week, pour baking soda and vinegar down the drain to prevent clogs and bad smells. This natural solution keeps your drain clear and odor-free.
Organize Your Pantry and Fridge
Avoid cluttering the space and throw expired items to free space. Regular organization makes it easier to find what you need and prevents food waste.
The Best Tools for Your Kitchen Cleaning Needs
For the best kitchen cleaning results, use Yocada cleaning tools. Our tools are designed to make scrubbing, mopping, and dusting easier and more effective. With the right tools and a simple routine, maintaining a spotless kitchen becomes effortless!
Shop Kitchen Cleaning ToolsConclusion
A deep-cleaned kitchen not only looks great but also creates a healthier space for cooking and eating. By following these steps and making cleaning a regular habit, you can keep your kitchen fresh and organized with less effort.
For the best kitchen cleaning results, use Yocada cleaning tools. Our tools are designed to make scrubbing, mopping, and dusting easier and more effective. With the right tools and a simple routine, maintaining a spotless kitchen becomes effortless!


